Friday, October 31, 2014

Dehydrated Butternut Squash

5 huge dehydrated  butternut squash fit into 4 pint jars
^^^
Unless their free I'll never again dry pumpkin when squash are so much easier.
^^^
A few weeks ago I bought a huge pumpkin, at 40 cents a pound it cost me $7 and 2 grueling days of work.
Day One:
Time to cut up and cook the  monster
I know that a lot of you bake your pumpkin with skin on and seeds inside but that wasn't possible for me because my oven isn't big enough and neither is my turkey roaster.
^^^
It took me till noon to get it seeded and cut into workable pieces.
I thought I would be smart and steam the pieces but that was taking too long so I ended up pressuring it in my electric pressure cooker, 3 pieces at a time.. 
It was late afternoon before the last pieces were out and cooling so I bagged them up, put them in the fridge for the next day.
Day Two:
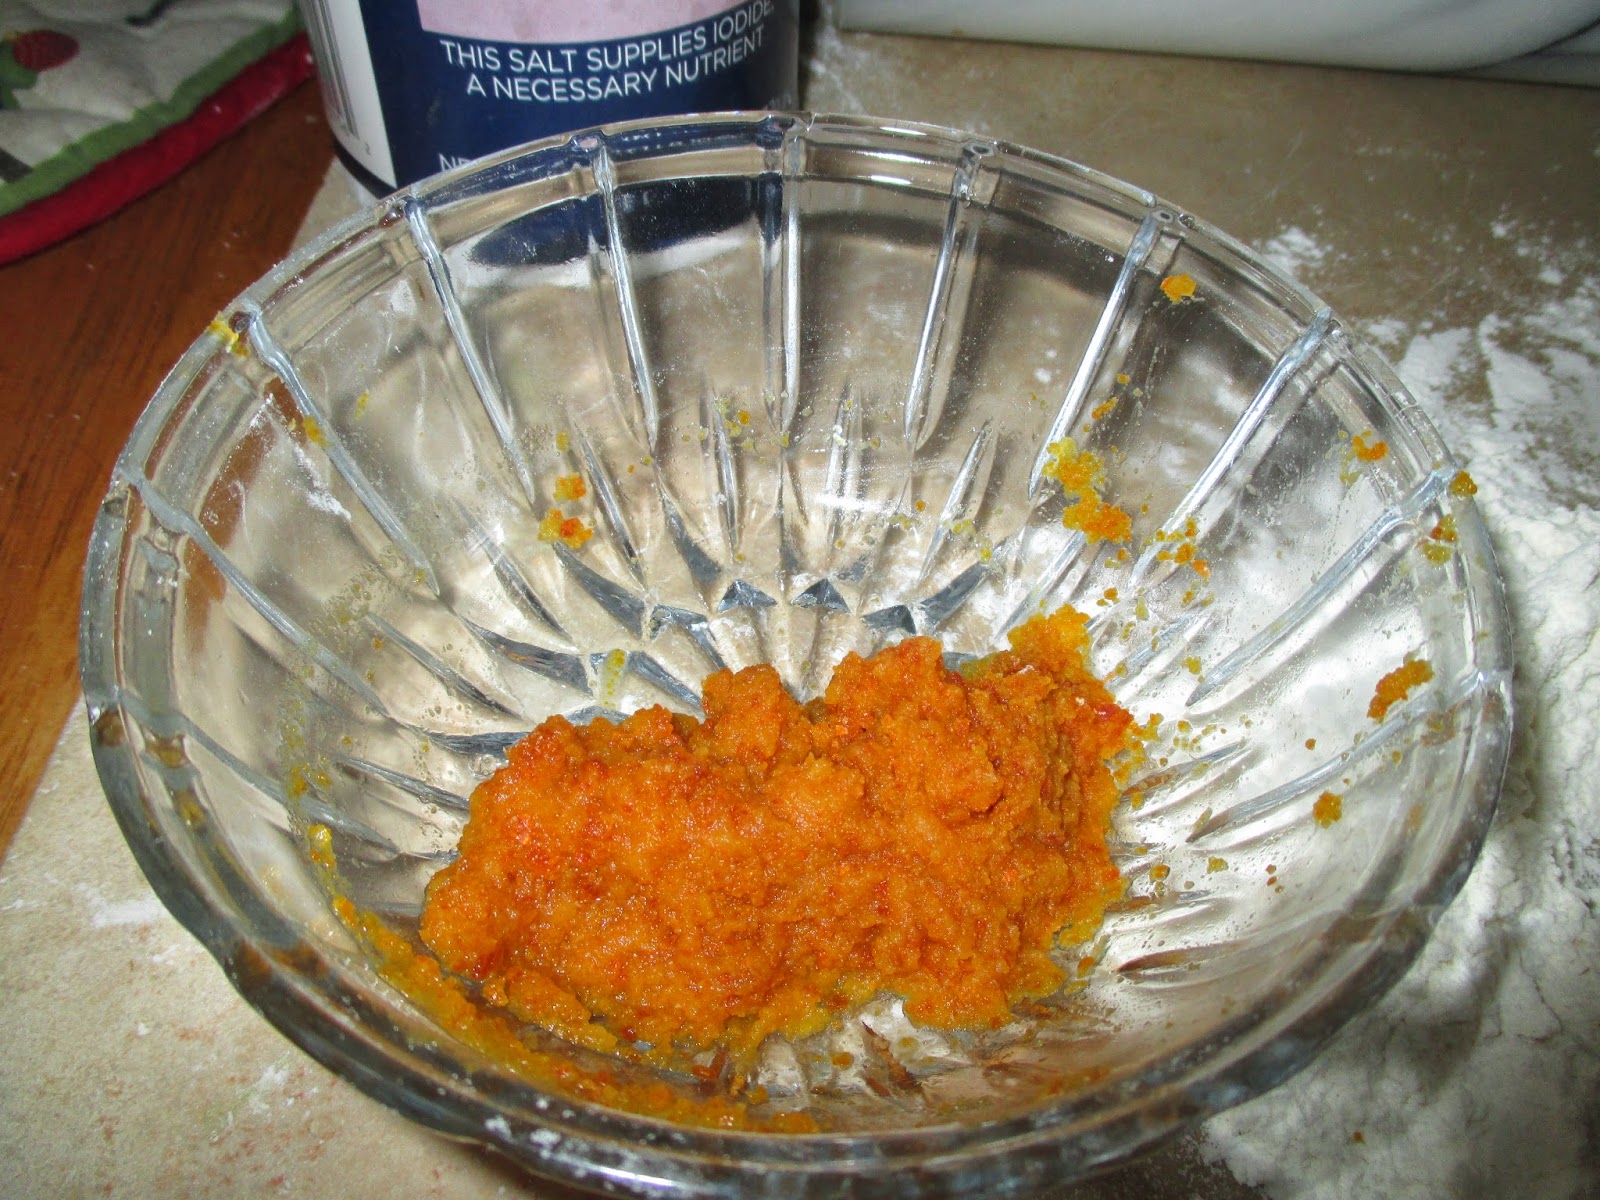
Time to remove skins and run through the food processor and then the grueling task of placing in cheese cloth and squeezing, twisting and squeezing to get all the excess water out.  
Late afternoon I finally got it spread onto the dehydrator trays to dry.. and I swear it took longer to dry the pumpkin pulp then it did these squash.
Squash
One day only and same price of 40 cents a pound.

I cut each one in half, scooped out the seeds, laid the halves cut side down on dinner plates and microwaved till done which was an average of 10 to 15 minutes each plate.
Butternut squash is not full of water so no squeezing was needed.
While the next batch was cooking I would scoop the meat out of the slightly cooled prior one and smash it in a bowl with the back of the spoon, when the bowl was full I used the spoon to spread it onto dehydrator trays and in no time at all it was happily drying and the next day it was dry and resting in a zip lock bag waiting for me to jar and seal.
Now isn't that easier?
You can make a pumpkin pie using squash and you'd never know the difference.  It's a fact that the cans of pumpkin you buy in the store is made from squash..
Don't believe me?  Do a search and you will find that Libby is the major producer of the squash they use in the can pumpkin.
Happy eating


Friday, October 17, 2014

Produce Bargains

If you have an Aldi near you, you might want to check to see if your store has their produce marked down.
Pictured is just a few of the items I bought this morning
Mushrooms 8 oz pkg for 59 cents
I bought 12 packages and they fit on 8 dehydrator trays
I'll be buying another 12 packages tomorrow.. 
Makes me wish I had more then one dehydrator.
I plan to do mushrooms first, then bell peppers, the zucchini and last will be the 15 pounds of onions 
Sale ends tomorrow
10-17-14
If you want some, you best hurry on over there

Fall Container Garden Update


Collard greens are coming along nicely
Beet roots are the size of a quarter
This green onion has been growing in this pot for a year and a half
I continuously chop off the green stalks for cooking and it keeps on growing through rain, snow, ice and hot summer sun.
Amazing  

Thursday, October 16, 2014

Cheap Dehydrator Leather Sheets


Do you own a dehydrator and want some leather tray?
 but don't want to fork over big bucks for them?
Here's a cheap solution

Dollar store two in a pack chopping mats for
just  $1.00
A lot cheaper then 2 for $12
and the good part is they will work in any dehydrator because you can cut them to fit.  
My dehydrator is square so I cut the length, rounded off the corners and cut a center hole.
They work perfect

Wednesday, October 15, 2014

Vegetable Pasta

How to make vegetable pasta

All you need is flour
salt
water
dried vegetable powder
or cooked and mashed vegetables

Place the flour on a clean board or counter top, mix in about 1/4 teaspoon salt then make a well in the center.
I'm using a half cup here for a small batch, for a full size batch use 3 cups and adjust the veggie powder and salt accordingly
In a dish measure out 1 tablespoon of vegetable powder.. I'm using pumpkin
add in enough water to re-hydrate it
Scrape the veggie mix into the well of your flour, add a tiny bit of water and using a fork start mixing it all together slowly adding water as needed until you can form a ball
Knead the ball until it's elastic and not sticky, cover with plastic wrap and let rest for at least 20 minutes.
After it has rested you probably will have to knead in a bit more flour

After the dough has rested, cut it into smaller pieces for rolling out.  Or if you have a huge area to roll it on, you can do it all in one piece.

After the dough is rolled as thin as you want it then roll it up into a log and using a sharp knife cut off slices the width you want your noodles to be.  Unroll the slices and lay them on floured board to dry or hang to dry.
I bought this nifty pasta drying rack from Amazon
You can check it out here
Drying racks are nice.. the pasta will dry faster on a rack but their not necessary.
You can also place the pasta in your dehydrator and dry it very quickly.
Or you can shape the pasta into little nests, lay them on a cookie sheet and freeze solid then place in a plastic bag.
Above is a picture of my Kitchen Aid pasta making tools.. one that rolls the dough and two for cutting it.  There are also hand crank rollers and cutters if you find yourself making lots of pasta.. especially for long term storage then you're going to want some tools.
Rolls the dough as thin as you wish
and cuts it into either spaghetti or fettuccine width which is the one you use in chicken noodle soup
The reason my recipe has no eggs or oil is I store this in jars on a shelf for long term.
Eggs or oil will go rancid over time
This jar of pasta has been in my cabinet for months and is still as dry and brittle as the day I made it.  I have not tried sealing it in jars, not sure if it would cause the pasta to break or not but I'm going to be experimenting, maybe with the small batch I made today.  I'm quite sure sealing it with a food saver would crush them.
If you do want eggs in your pasta then be sure to freeze it for long term of no more then 6 months.
I cooked a bit of this batch just to show you how the color springs out when the extra flour gets boiled off
Fresh pasta cooks in as little as 3 minutes
Vegetable pasta does not taste like the vegetable you used, it just has a smooth rich flavor and puts the store bought kind to shame.. 
Trust me if you start making your own pasta you'll never buy the store stuff again.

Monday, October 13, 2014

Dehydrated vegetable pasta
Three balls of pasta dough
Yellow is dehydrated pumpkin, green is dehydrated collard greens and red is dehydrated tomato paste
All veggies were dehydrated then ground into powder
and then mixed with flour and water
I hand crafted some and used my Kitchen Aid pasta cutters to make fettuccine and spaghetti noodles with the rest
It's all in the dehydrator 
Since I added no eggs or oil this will keep for months stored in a jar or bag


Friday, October 10, 2014


Dehydrating a pumpkin
and making pumpkin powder


This was a first for me, I knew I needed to cook it first then strain and press all the juice out of it.
Got it all cut up
Darn but that's hard work.
Would have been easier to smash it onto the sidewalk
And yes, I saved seeds to be roasted
Thought I'd be smart and use my steamer but only one chunk at a time would fit into it and took 25 minutes to get tender
That was taking way too long and I was getting very sick of looking at all that orange mass sitting all over my counter.
It was time to get er done so I brought out the big boss, my go to when I'm in desperate straits.
My electric pressure cooker
 half the pumpkin fit into the pressure and 11 minutes later it was tender, 22 minutes later the whole pumpkin was done and I was exhausted but still had to pick the goop off the pumpkin seeds..
 As soon as the seeds were clean and I had the pumpkin meat scraped out of their skins I set it to cool and gave up for the day.
Two days later I spread it in my dehydrator, it took all that day and over night to dry but it's done.
Today, the 3rd day I ground it into pumpkin powder using my Magic Bullet
These are half pint jars.. hard to believe that huge pumpkin didn't even make a pint of powder.
Would I do this again?
Probably
Because I'm just stupid enough to do so

Wednesday, October 8, 2014

An apple a day eh?
Not at these prices
taken from a store ad for a local grocery
Below is the ad for our local Aldi
Which store would you shop at?

Monday, October 6, 2014

Jalapeno Salt
Orange Zest
I'm going to be posting how to's for both of these since I just got through grinding both

Jalapeno salt is both delicious and easy to make.
Grind dried peppers in a spice or coffee grinder or if you own a  Magic Bullet use the grinder blade
You want to grind it as fine as possible, then add a bit of salt and grind a few seconds more to blend.
Do NOT attempt to smell it or trust me you will regret it.
Jalapeno salt is delicious on popcorn and is wonderful to sprinkle on meat or just about anything you want kicked up a few notches.

Orange Zest
This is so easy to make and very expensive to buy
Just a month before I bought my dehydrator I bought a small jar of orange zest at half price $3.49
Yikes!!
Whether you're pealing an orange to eat or planning on drying slices of the orange, I suggest you dry the peels in long strips until their crunchy and break easily.
After they're dry then hand break them into smaller pieces and then grind them like you did the peppers.
I wouldn't recommend grinding them in a wheat grinder because if I'm not mistaken you're not suppose to grind things that are oily and citrus peel has some natural oils in them.  A blender would probably do a fairly good job tho.
Orange zest added to icing is delicious on cinnamon rolls.  Added to yeast breads or zucchini and pumpkin bread, cookies and other baked goods.  I like adding a dried orange slice and some orange zest to a cup of hot tea with honey.
Add extra flavor to Asian orange chicken by sprinkling a bit of zest over top.
Possibilities are endless
Storage
Orange zest will keep up to one year in a lidded jar and up to 5 years or more vacuumed sealed either in a jar or Mylar bag.

Friday, October 3, 2014

Storing my dehydrated jars of food
The 6 environmental  enemies of food storage are
Moisture
Heat
Oxygen
Microorganisms
Light
Pests
Having taken measures to remove moisture, sealing them in oxygen free jars that pests can't get into the only thing left to do is where and how to store them..
I placed tops from old socks over each jar for two reasons.. to keep any light from shinning onto the food and because we live in earthquake country.  The socks will keep the jars from clanking together if we have a tremor.  
They will be stored in my mostly dark cool basement on a shelf, never on a concrete floor.
I wish jars came in full boxes like they use to so I could close the box top down over them.